
Faux Fireplace Mantel Part One
Living in an apartment can suck sometimes- I mean don’t get me wrong, it has it’s perks like peace of mind in fixing things, no major maintenance etc. But when you love to decorate and paint things, and nail things up and tear down walls well, it’s really no fun. One of the things I love most about the changing seasons is all the decor! Especially since the holidays are right around the corner. But for us apartment dwellers this may mean we only get to put up some string lights and maybe a wreath on the front door and that’s no fun. I want a fall home that is cozy and warm, that brings up images of hot chocolate with mini marshmallows and fuzzy faux fur blankets, or you know what I mean :). That can be hard to get with just a run of the mill apartment.
So, one of the things i’ve always loved but actually have never had is a fireplace! To me a fireplace is fall and winter. I’ve never lived in a house that had a fireplace- and it isn’t any better at my apartment. That’s why when I came across Ana White’s plans for a faux fireplace mantel I was like, i’m on it! They seemed simple enough, and perfect for an apartment. I made a few adjustments, but overall the mantel itself came out fantastic and added an instant homey feel.

Ana White’s Faux Mantel plan is actually another blogger’s design. Mimi from the Blue Roof Cabin designed the mantel and asked Ana to draw up the plans. If you want to make this yourself, download the plan from Ana’s site and look at the photos on Mimi’s site. Or here on Well-Made Heart. Whateve’s :).
So to start off, the plan is very easy to follow. I actually just printed it out and took it to Lowe’s so that they could help me select my wood, and cut it for me. Actually what happened was that I just handed the paper to one guy who looked at it and loaded up the cart. Then he handed the paper to the other guy, who made all my cuts. I was like yesssssss, because even though I love to build things out of wood, I hate the cutting part. Ehh, let’s just say I majored in communications for a reason.

So my brother and I set out to do it one Saturday morning, and by following the plans to a T- we were done in record time!
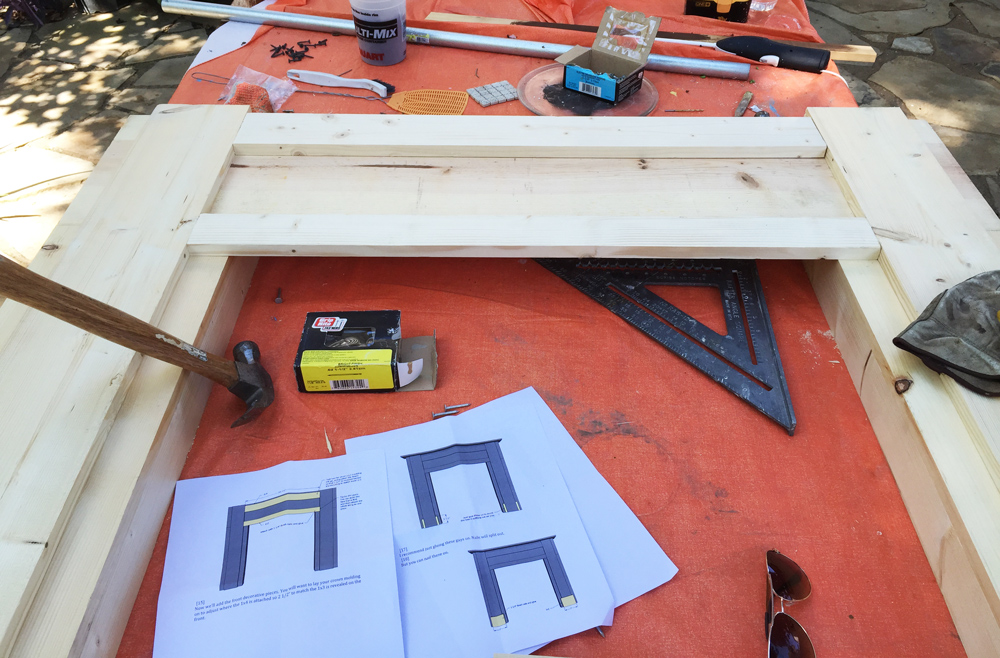
As you can see- the plans are great and have pictures! For a visual person like me, I wouldn’t have survived without them.

Once it was finished, I set it on the deck and just stared at it. I couldn’t decide what color to paint it but I figured that white is classic and always safe, so I painted it white.

And it was nice….But of course, after staring at it some more I decided i’d jazz it up a bit by distressing it.

Aaaaand after it was done I decided I didn’t like it because it made it look pinkish. 🙁
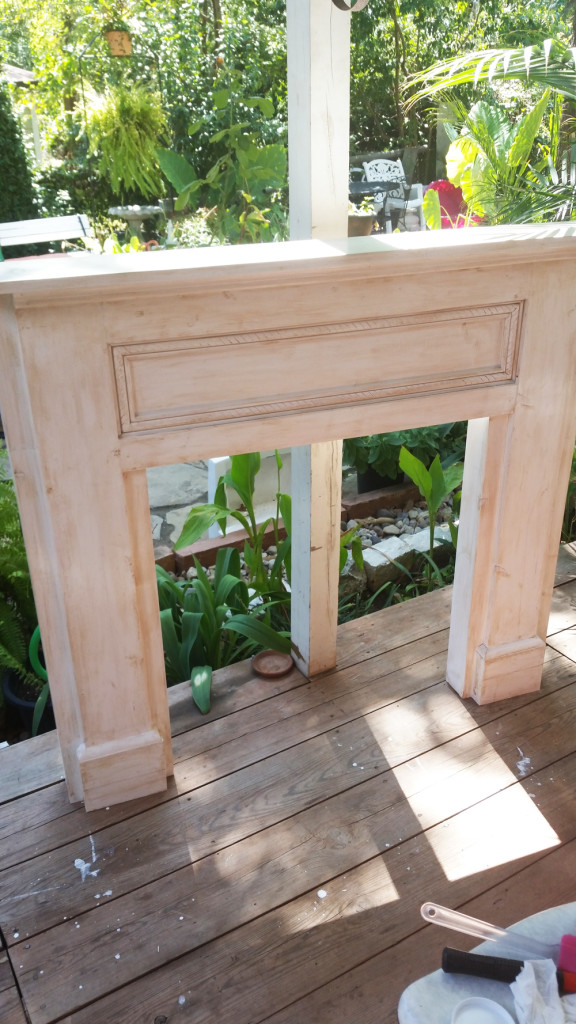
Actually it looked like the original pine again haha! So I took it to my apartment anyway, just to let me mull over it and decide what next steps to take.
Besides what color to paint it I wasn’t really sure want I wanted to do with the big opening. I’ve seen many pins that show some pretty awesome ways to spruce up the opening in a faux mantel like put a chalkboard behind it and etc, but I just wasn’t feeling any. My roommate found me staring at it one day and she said, why don’t you just put a tile background, and I was like OMG duh WHY haven’t I thought of that! So the post on HOW I did that is coming on Wednesday OUT see it here! :).
But meanwhile I decided on painting it gray. I had an idea of what tiles I wanted and gray seemed like a the perfect neutral.
So I combined these two chalk paints(because of-course one was too dark gray, and the other was too light gray) and I distressed it some too.
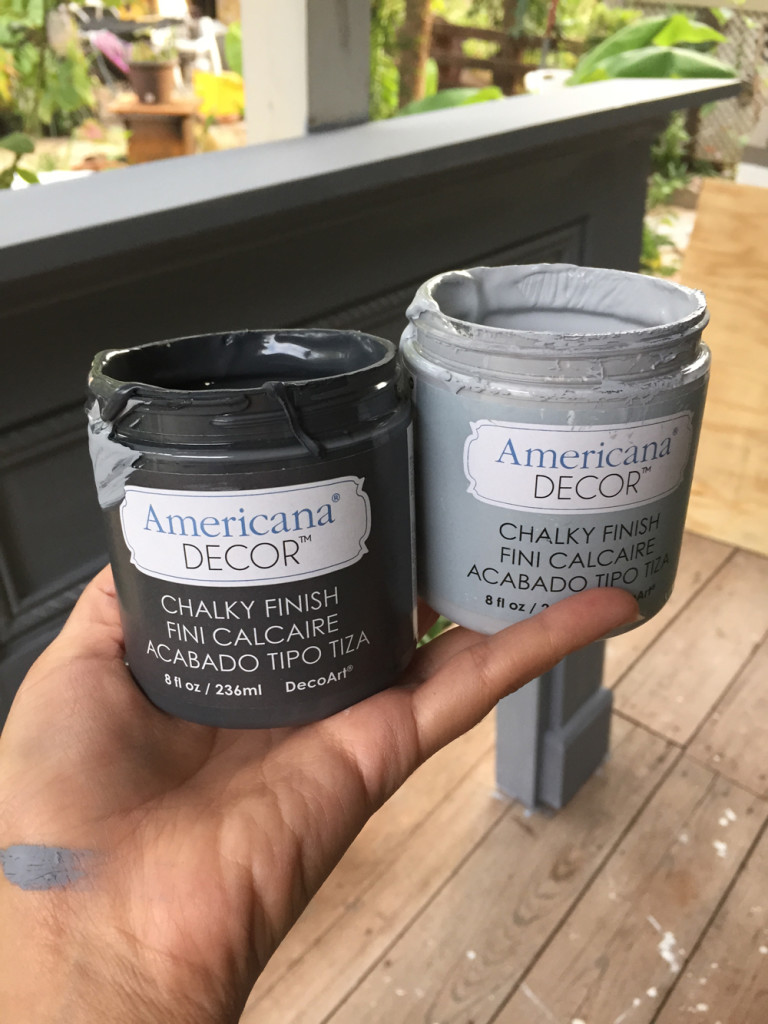
This was the first layer- a little dark so I added a bit more of the light gray to even out.

And this is the FINAL product at my place!

If your feel like you want to spruce up your place and add something for the seasons- consider making this mantel! It really can add a focal point to your living room and the best part is that you can easily remove it when the holidays are over and store it for next year! I’m so glad I have somewhere to hang my stockings now 🙂

Like I mentioned before- the tutorial on HOW to make the tiled insert is coming on Wednesday!! Stay tuned for the complete project! out! See it here to make the complete project. Hope you’re inspired on this Monday 🙂

This GORGEOUS! Great work! ?
Thank you! It was well worth the work! 🙂